English
- English
-
 שפה עברית
 -
 繁体中文
繁体中文 -
 Latviešu
 -
 беларускі
 -
 Hrvatski
 -
 lugha ya Kiswahili
 -
 አማርኛ
አማርኛ -
 ქართული
 -
 Hausa
Hausa -
 Zulu
Zulu -
 Հայերեն
 -
 Igbo
Igbo -
 Yoruba
 -
 Español
 -
 Português
 -
 русский
 -
 Français
 -
 日本語
日本語 -
 Deutsch
 -
 tiếng Việt
 -
 Italiano
 -
 Nederlands
 -
 ภาษาไทย
 -
 Polski
 -
 Svenska
 -
 magyar
 -
 Malay
Malay -
 Dansk
Dansk -
 Suomi
Suomi -
 हिन्दी
 -
 Pilipino
 -
 Türkçe
 -
 العربية
 -
 Indonesia
 -
 Norsk
Norsk -
 český
český -
 ελληνικά
 -
 український
 -
 فارسی
فارسی -
 български
 -
 Қазақша
 -
 Azərbaycan
 -
 Slovenský jazyk
 -
 Lietuvos
 -
 Eesti Keel
 -
 Română
 -
 Slovenski
 -
 Srpski језик
 -
 한국어
한국어


Home
>
Products > Nail Drill
> Rechargeable Nail Drill
>
LCD Display Nail Drill Speed RPM Visual Control


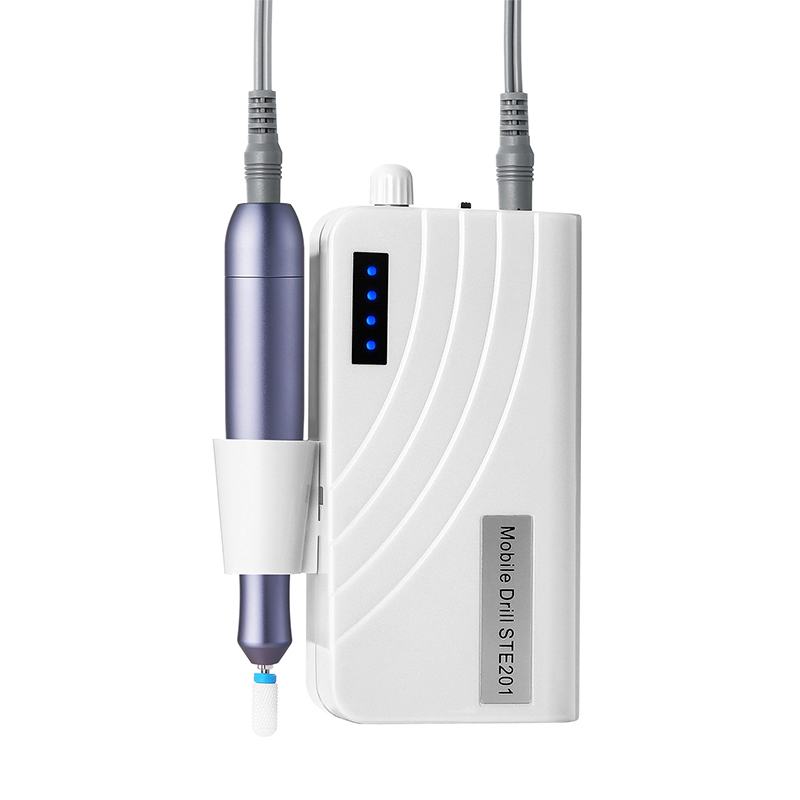
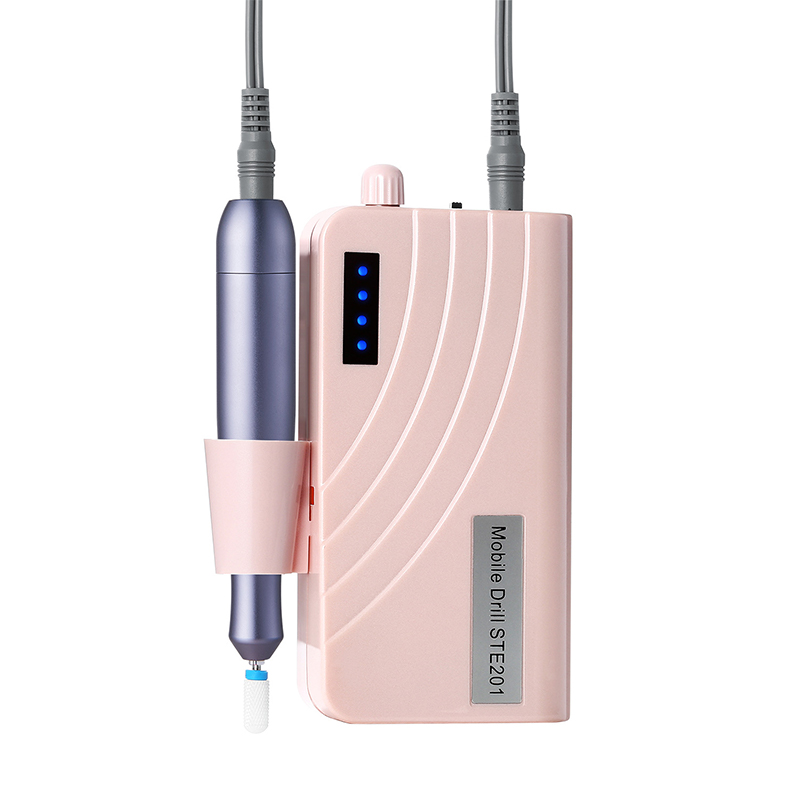
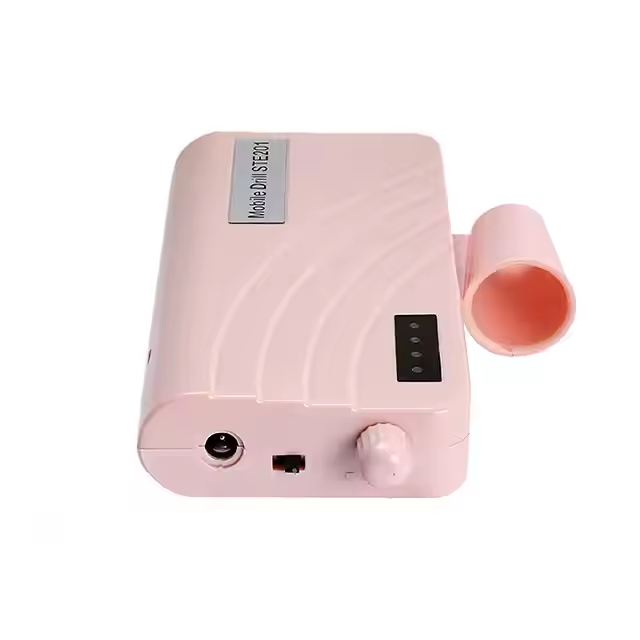
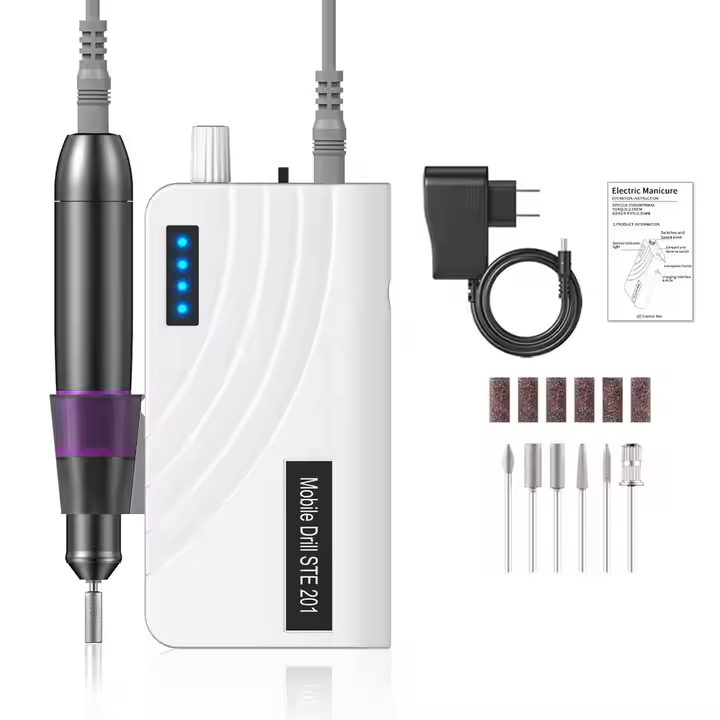
LCD Display Nail Drill Speed RPM Visual Control
DetailsRUINA LCD Display Nail Drill Speed RPM Visual Control puts precision at your fingertips with a clear, real-time digital screen that shows exact rotation speed, so you always know your setting for flawless filing every time. Its responsive motor and wide RPM range handle acrylics, gels, and natural nails with steady torque and minimal vibration, while the intuitive interface makes speed adjustments instant and foolproof. Ideal for detail-oriented home users, busy salon pros, or gifting to friends who love tech-savvy beauty tools, this device transforms nail care into a precise, confident experience. No more guesswork or inconsistent results—just accurate, repeatable performance that delivers professional finishes reliably. Unlike basic drills without displays, our model includes a memory function that retains your preferred speed, a comfortable ergonomic handpiece, and durable titanium bits for long-lasting sharpness. Whether creating intricate nail art or performing quick maintenance, users appreciate the clarity and control at every step. RUINA combines smart technology with dependable power—clear, controlled, and confidently precise for beautiful nails every session.
Send Inquiry
Product Description
The Technical Standard for the LCD Display Nail Drill Speed RPM Visual Control
Precision in nail care is not merely about the tool in hand but about the information available to the operator. The LCD Display Nail Drill Speed RPM Visual Control represents a significant advancement in user interface engineering, transforming the electric file from a blind instrument into a transparent, data-driven device. Real-time visual feedback on rotational speed, torque, and battery status empowers technicians to make micro-adjustments with confidence, ensuring consistent results across different nail types and product densities. Understanding the technical specifications, display functionalities, and control logic of these systems is essential for professionals who demand precision and reproducibility in every service.
Core Technical Specifications and Display Metrics
The LCD Display Nail Drill Speed RPM Visual Control is defined by its screen quality, response time, and the depth of information presented. The following table compares key parameters found in basic LED indicator units versus advanced LCD-equipped systems.
| Parameter | Basic LED Indicator Model | Advanced LCD Display Visual Control | Technical Insight |
| Display Type | Single/Color LED Lights | Segmented / TFT LCD Screen | LCD provides alphanumeric readouts, not just preset speed indicators . |
| Speed Readout | None / Preset Level Number | Real-Time RPM (e.g., 0 – 35,000 RPM) | Real-time RPM allows precise matching of speed to bit and task . |
| Displayed Parameters | Speed Level (1-3/5) | RPM, Torque Level, Battery %, Direction, Operating Time | Comprehensive data enables informed adjustments during service . |
| Refresh Rate | N/A | ≥ 60 Hz (Real-Time Update) | High refresh rate ensures speed changes are reflected instantly . |
| Backlight | None / Simple LED | Blue/White Backlight with Adjustable Brightness | Backlight ensures visibility in various lighting conditions . |
| Control Interface | Mechanical Dial / Push-Button | Touch / Capacitive Buttons with Haptic Feedback | Enhanced interface allows faster, more precise adjustments . |
| Memory Function | None | Auto-Recall Last Used Speed and Direction | Saves time between clients by retaining preferred settings . |
| Accuracy of Readout | N/A | ± 2% of Displayed RPM | High accuracy ensures reproducibility across services . |
| Displayed Torque | None | Bar Graph / Numeric (Nm or %) | Visual torque feedback prevents stalling and indicates load conditions . |
| Battery Monitoring | Low Voltage Warning Only | Percentage (0-100%) with Estimated Remaining Time | Prevents unexpected power loss during a service . |
| Error/Warning Display | Flashing Light | Text Messages (e.g., "OVERLOAD", "HIGH TEMP") | Diagnostic messages aid troubleshooting and prevent damage . |
| Screen Durability | Standard | Scratch-Resistant / Anti-Glare Coating | Ensures legibility and longevity in a salon environment . |
Detailed Interface and Control Analysis
Real-Time RPM Monitoring and Its Practical Application
The defining feature of an LCD Display Nail Drill Speed RPM Visual Control is the ability to see the actual rotational speed in real-time. This is not merely a cosmetic upgrade—it has direct practical implications for service quality and safety.
Different bits have specific optimal operating speeds. A fine diamond bit for cuticle work performs best between 5,000 and 8,000 RPM. A carbide cutter for acrylic bulk reduction requires 20,000 to 30,000 RPM. Without a real-time display, the technician relies on vague "level" settings that vary between manufacturers. The LCD eliminates this guesswork, allowing the technician to dial in the exact RPM required for the task and confirm that the motor is delivering that speed under load.
Furthermore, the display reveals if the motor is struggling. If the set speed is 30,000 RPM but the readout shows 22,000 RPM under load, the technician knows to reduce pressure or switch to a more aggressive bit. This real-time feedback prevents stalling and reduces the risk of the bit grabbing or skipping.
Comprehensive Data Display and Control Logic
Advanced LCD systems present a dashboard of critical operational parameters:
RPM Readout: The primary numeric display, usually showing the current speed in real-time. Some units show both the set speed and the actual speed.
Torque Bar Graph: A visual indicator of the motor's load. As pressure increases, the bar rises. When it reaches the red zone, the user knows to lighten pressure to avoid stalling or overheating.
Battery Percentage: For cordless models, a precise percentage reading (rather than a vague 3-bar indicator) allows the technician to confidently complete a service without unexpected power loss.
Rotation Direction: A clear arrow or text indicator (FWD/REV) prevents accidental use of the wrong direction.
Memory Status: Some units display the active memory slot (e.g., M1, M2), allowing quick switching between pre-saved settings for different clients or services.
The control interface itself is also elevated. Capacitive touch buttons or a precision dial with haptic feedback allow for single-finger adjustments without looking away from the client's hand. Some systems feature a lock function that prevents accidental speed changes during a stroke.
Diagnostic and Safety Functions
The LCD screen also serves as a diagnostic tool. When issues arise, the display shows specific error codes or text messages rather than a simple flashing light. Common messages include:
"OVERLOAD": The motor is drawing excessive current; reduce pressure.
"HIGH TEMP": The motor or driver board is overheating; allow to cool.
"LOW BATTERY": Less than 10% remaining; charge before next service.
"NO BIT": Some units detect if a bit is not properly secured.
This transparency reduces downtime and helps technicians troubleshoot issues quickly, improving overall workflow efficiency.
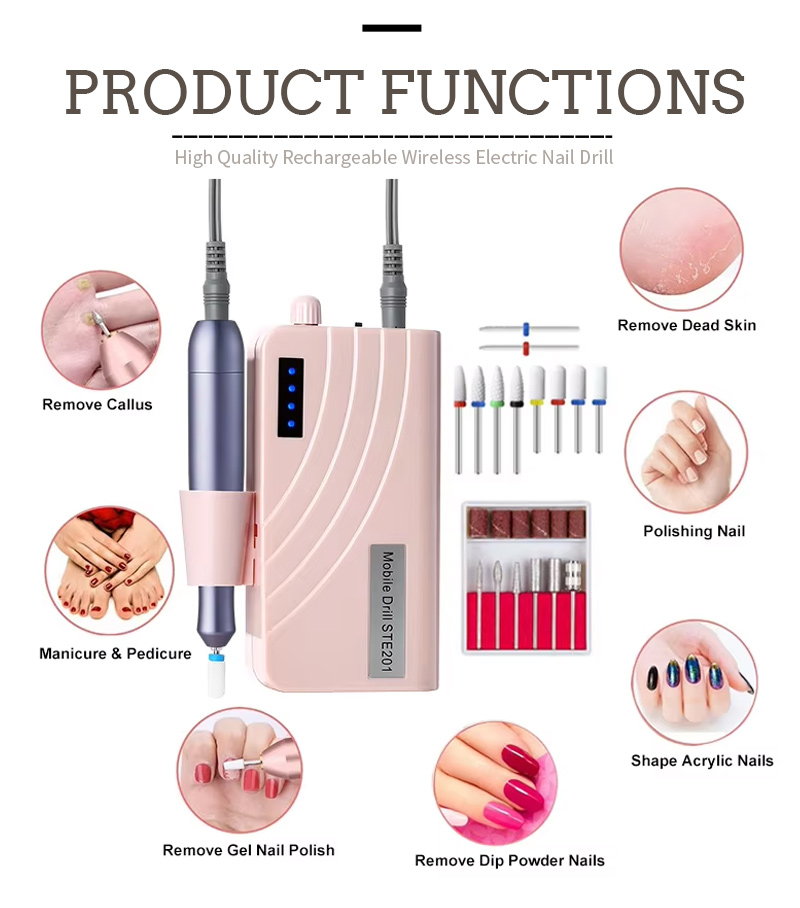
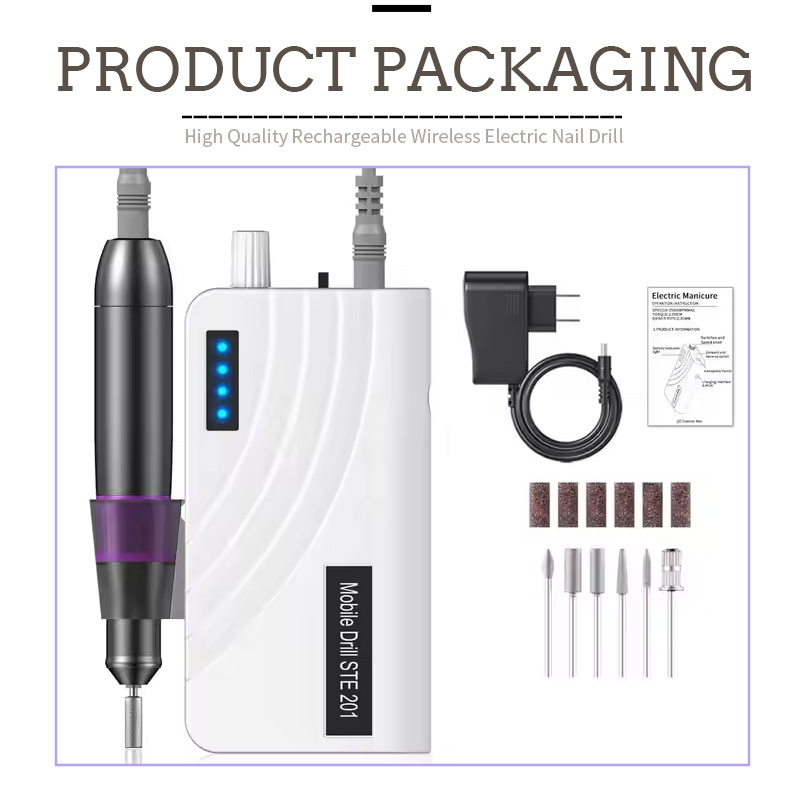
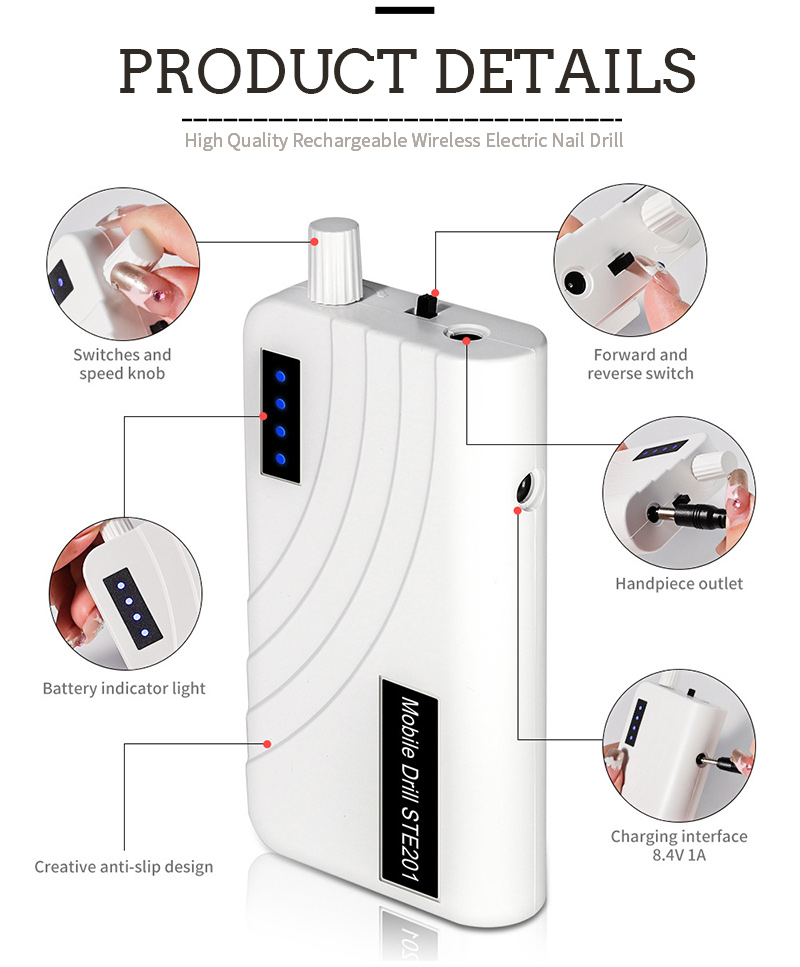
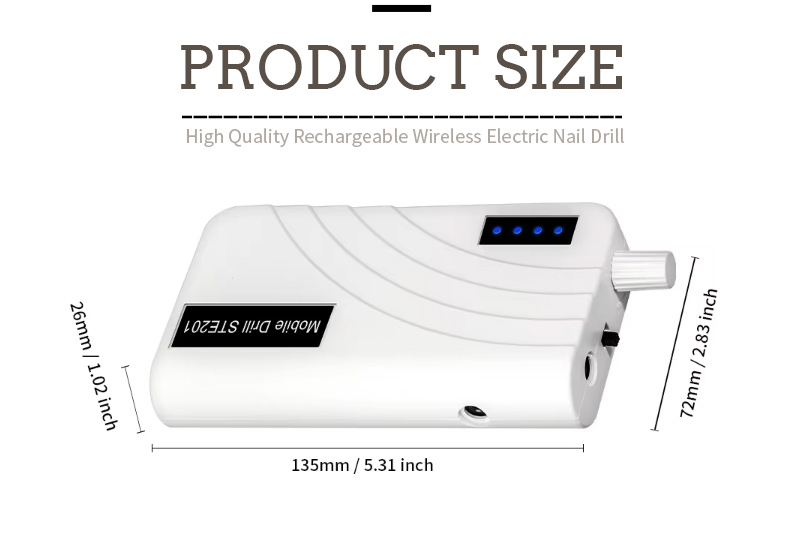
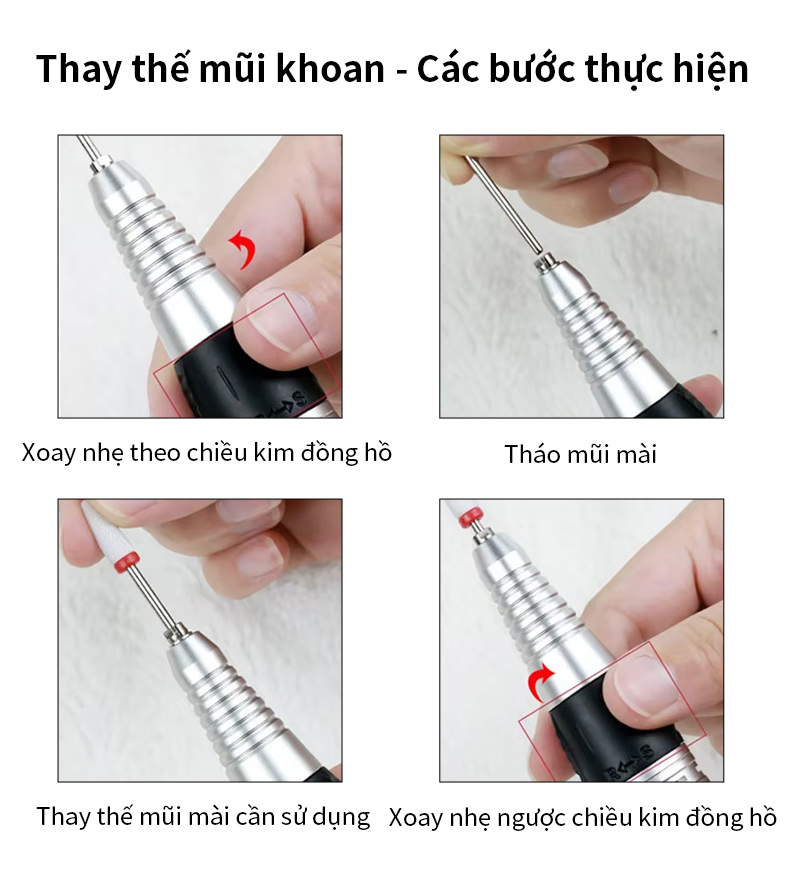
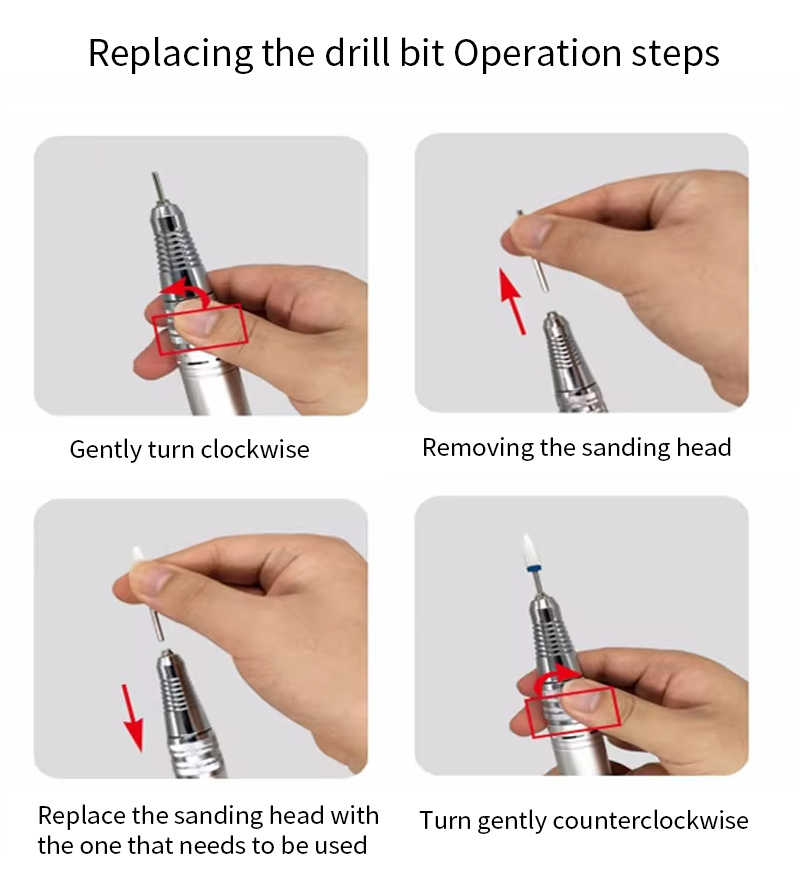
LCD Display Nail Drill Speed RPM Visual Control Detail
Frequently Asked Questions (FAQ)
Q: How does the RPM readout on the LCD Display differ from the speed level number on a non-display drill?
A: This is a fundamental difference between a blind setting and a precise measurement. On a basic drill without an LCD Display Nail Drill Speed RPM Visual Control, the speed settings are typically marked with numbers (e.g., 1, 2, 3) or symbols. These numbers represent relative percentages of the motor's maximum speed, not an actual RPM value. For example, "Level 3" on one manufacturer's drill might be 15,000 RPM, while on another, it could be 20,000 RPM . Furthermore, these settings are based on the motor's no-load speed; when you apply pressure to the nail, the actual RPM drops, and you have no way of knowing by how much . The LCD screen, by contrast, displays the actual real-time RPM using a Hall effect sensor or encoder on the motor shaft . You can set the exact RPM you want and see the motor's performance under load. If the speed drops, you see it immediately and can adjust your technique or bit selection accordingly . This precision is invaluable for achieving consistent, reproducible results across different clients and service types .
Q: What does the torque bar graph on the LCD display indicate, and how should I use it during a service?
A: The torque bar graph is a visual representation of the motor's current load or resistance . As you press the drill bit against the nail or enhancement, the motor must work harder to maintain its set RPM. This increased load is reflected in the bar graph, which typically rises from green (normal) to yellow (moderate load) to red (high load/overload) . The practical application is straightforward: when performing a service, aim to keep the torque bar in the green to lower-yellow range . If the bar consistently enters the red zone, it indicates that you are applying too much pressure, using the wrong bit for the task, or operating the bit at an insufficient RPM for the density of the material . When the bar is in the red, the motor is at risk of stalling, and the bit is generating excessive friction heat . The correct response is to reduce pressure, increase the RPM, or switch to a more aggressive bit . This visual feedback allows you to optimize your technique in real-time, preventing client discomfort and extending the life of your motor .
Q: Can I save my preferred speed and direction settings on an LCD Display Nail Drill?
A: Yes, many premium LCD Display Nail Drill Speed RPM Visual Control units feature a memory function that allows you to save multiple user profiles or preferred settings . This is particularly useful in a salon environment where multiple technicians share the same equipment, or for individual technicians who perform a variety of services that require different speed and direction configurations . Typically, the system offers between 2 and 5 memory slots (often labeled M1, M2, M3, etc.) . To save a setting, you dial in your preferred RPM, select the direction (forward or reverse), and then hold a "Save" or "Set" button for a few seconds . The LCD screen will confirm the save, and you can then recall that exact configuration with a single button press at the start of each service . This feature eliminates the need to manually re-dial settings between clients, reducing setup time and ensuring consistency across repeat customers . For technicians who use different bits for different stages of a service (e.g., coarse bit for removal, fine bit for finishing), the memory function allows for instant switching between optimized speed profiles . RUINA includes multi-slot memory functionality in its advanced LCD control systems to streamline professional workflows.
Best Practices for Using LCD Visual Control
To fully leverage the capabilities of your LCD Display Nail Drill Speed RPM Visual Control, implement the following professional protocols:
Set Exact RPMs: Instead of using vague levels, refer to the bit manufacturer's recommended RPM range and dial in the exact value on the display.
Monitor the Torque Bar: Keep the bar in the green-to-yellow zone during service. If it enters the red, adjust your technique immediately.
Use Memory Slots: Save your preferred settings for common services—e.g., M1 for acrylic removal (25,000 RPM, Forward), M2 for cuticle work (6,000 RPM, Forward), M3 for final buffing (3,000 RPM, Reverse).
Calibrate Your Eye: Use the RPM readout to train your sense of speed. Over time, you will develop an intuitive feel for the correct sound and feel of the drill at specific RPMs, making you faster and more confident.
Check Battery Before Client: On cordless models, always check the battery percentage displayed before starting a service to ensure you have sufficient runtime.
Respond to Warnings: If the LCD displays an error message (OVERLOAD, HIGH TEMP), stop the service immediately, address the cause, and allow the unit to reset before continuing. Ignoring warnings can lead to permanent motor damage.
Hot Tags: LCD Display Nail Drill Speed RPM Visual Control, China, Manufacturers, Suppliers, Factory, Made in China, Customized, In Stock, Quality
Related Categories
Send Inquiry
Please feel free to fill your inquiry in the form below. We will reply you in 24 hours.
Related Products
 Rechargeable Cordless Nail Drill Set Professional 45w 40000rpm
 Rechargeable Cordless Nail Drill Machine Powerful 45w 40000rpm
 Rechargeable Nail Drill Set With Powerful Handpiece 45w 35000rpm
 Rechargeable Nail Drill Set Machine 45w 35000rpm
 Rechargeable Cordless Nail Drill Set Near Me USB 45w 35000rpm
 Rechargeable Nail Drill Set Nail Drill On Toes Fingers 35w 35000rpm



X
We use cookies to offer you a better browsing experience, analyze site traffic and personalize content. By using this site, you agree to our use of cookies.
Privacy Policy